Begin before the camera rises
Stand somewhere safe and watch the water for a few minutes. Notice whether the bright marks are travelling with the wind, arriving in boat wakes or breaking against a shoreline. Each movement suggests a different picture. A reflection that seems solid to the eye may become a complicated mesh when frozen; a long exposure may remove the very texture that first attracted you.
Make one frame with the equipment already in your hand. This can be a phone, a compact camera or an interchangeable-lens camera. Then ask what prevents the image from expressing your observation. Change position or timing before assuming that another lens will solve the problem. On a fjord, a small step can separate overlapping slopes or move a reflection into clearer water.
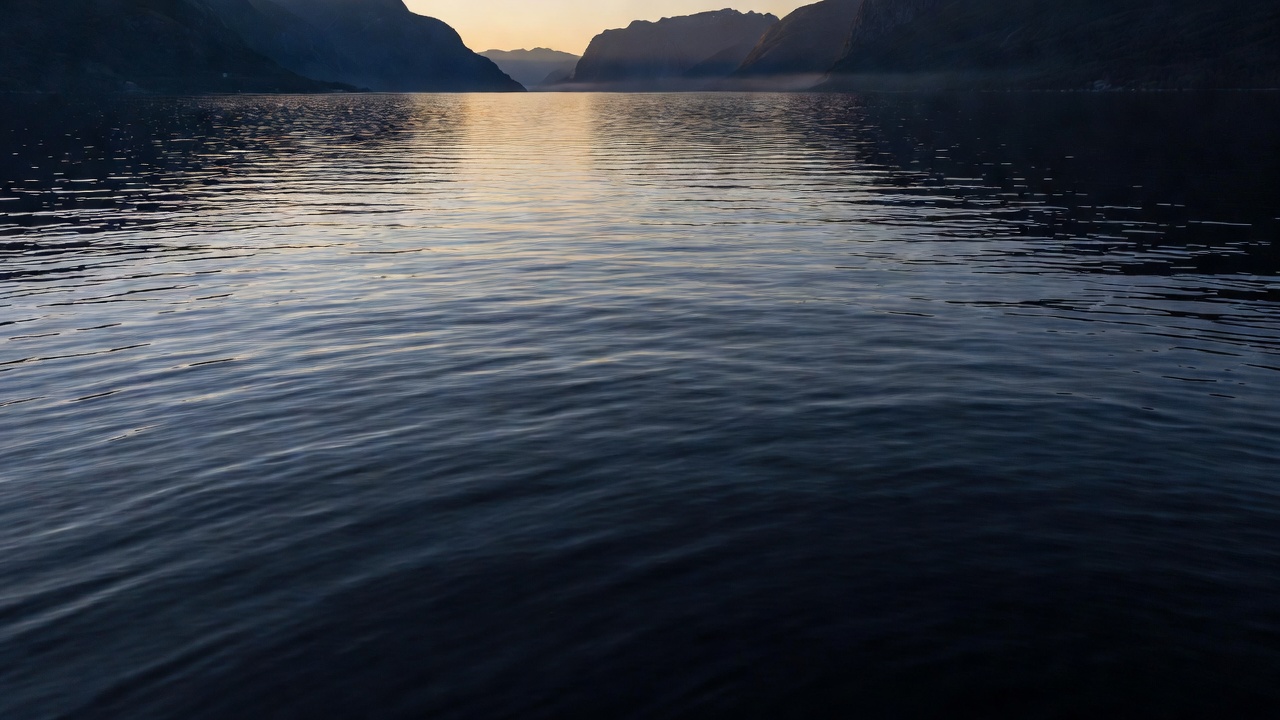
Expose for the important light
Bright water and shaded rock can exceed the range a camera records comfortably in one exposure. Review the histogram and highlight warnings, where available, rather than trusting screen brightness alone. Protect the highlights that matter to the picture, while accepting that tiny sun glints may remain white. There is no universal exposure compensation value for fjords: the appropriate adjustment depends on the scene and the camera's metering.
Raw capture, when available, gives greater flexibility for later tonal adjustments, but it cannot recover detail that was never recorded. If using a phone, test its exposure control and compare the result with its automatic processing. Bracketing may help with a static landscape, yet moving water and foliage can create merging artefacts. Keep a natural-looking single exposure as an alternative.
Give movement a deliberate shape
A fast shutter can preserve small wave edges; a slower one can join them into strokes. Instead of treating smooth water as the ideal result, make a short sequence at different shutter speeds and compare what each says. Adjust aperture or ISO to maintain a useful exposure, and use a stable support when the chosen duration requires it.
For texture
Start with a shutter speed that holds the pattern clearly, then inspect the result at a useful magnification. Wind and subject distance change what “fast enough” means.
For flow
Lengthen exposure gradually. Stop when the moving marks still contribute to the composition rather than becoming an unrelated pale surface.
A polarising filter can reduce some reflections, depending on the viewing angle. Rotate it while watching the water, not simply the sky. Sometimes removing glare reveals submerged stones; sometimes it removes the reflection that gives the photograph its structure. Wide views may also show uneven polarisation. A filter is an option, not a requirement.
Let the small frame explain the large one
Try a three-distance exercise beside Aurlandsfjord or another accessible shore. First photograph a detail: wet rock, rope fibres or a mark in painted timber. Next show the object in its immediate setting. Finally include the shoreline and the opposing slope. Keep a visual relationship across the sequence, perhaps a repeated diagonal or a similar patch of reflected light.
Depth of field should serve that relationship. A shallow-focus detail can make a surface feel intimate, but too little focus may erase the context that gives it meaning. For the wider image, check the important foreground and background rather than automatically choosing the smallest aperture. Very small apertures can soften fine detail through diffraction.
Weather is part of the subject
Low cloud can separate mountain layers and soften contrast. Rain can darken wood and enrich the colour of stone. Neither condition guarantees an interesting photograph, and neither excuses unsafe positioning. Check forecasts, local warnings and access conditions before leaving. Avoid exposed edges, slippery landing stages and locations affected by falling rock or high water.
Keep a lens cloth dry, shelter equipment when changing lenses and allow extra time for condensation when moving between cold and warm environments. Never step backwards while composing near water. A less dramatic viewpoint reached safely is preferable to a stronger picture that depends on an unstable footing.
Finish with an honest edit
When selecting photographs, look for different roles rather than several versions of the strongest view. Choose an opening, an orientation image, a detail, a human trace and a quiet ending. Adjust colour and contrast consistently, but do not force every scene into the same weather. If a composite or substantial alteration changes the meaning of an editorial image, disclose it.
Write the caption before final export. Name the place as precisely as you can verify it, describe the visible subject and separate observation from interpretation. “A rope drying beside the landing” is an observation. “The village waits for its fishermen” assigns a story you may not know. The difference is small in wording and substantial in trust.