Plan a story, not a collection of stops
This is an editorial framework for independent planning, not a booked itinerary or a promise that every connection operates on your dates. Aurland can provide a useful base for exploring parts of Aurlandsfjord and nearby Nærøyfjord. The two fjords are connected to the wider Sognefjord system, but road routes, water routes and their schedules are not interchangeable.
Before reserving accommodation, check how you will reach each proposed location and return. Confirm current transport schedules, seasonal service, road conditions and access restrictions directly with relevant operators and official information services. Keep a weather alternative for every outdoor plan. The sequence below uses five days to create breathing room; you can shorten it by reducing destinations rather than compressing every activity.
Day one: establish a shore
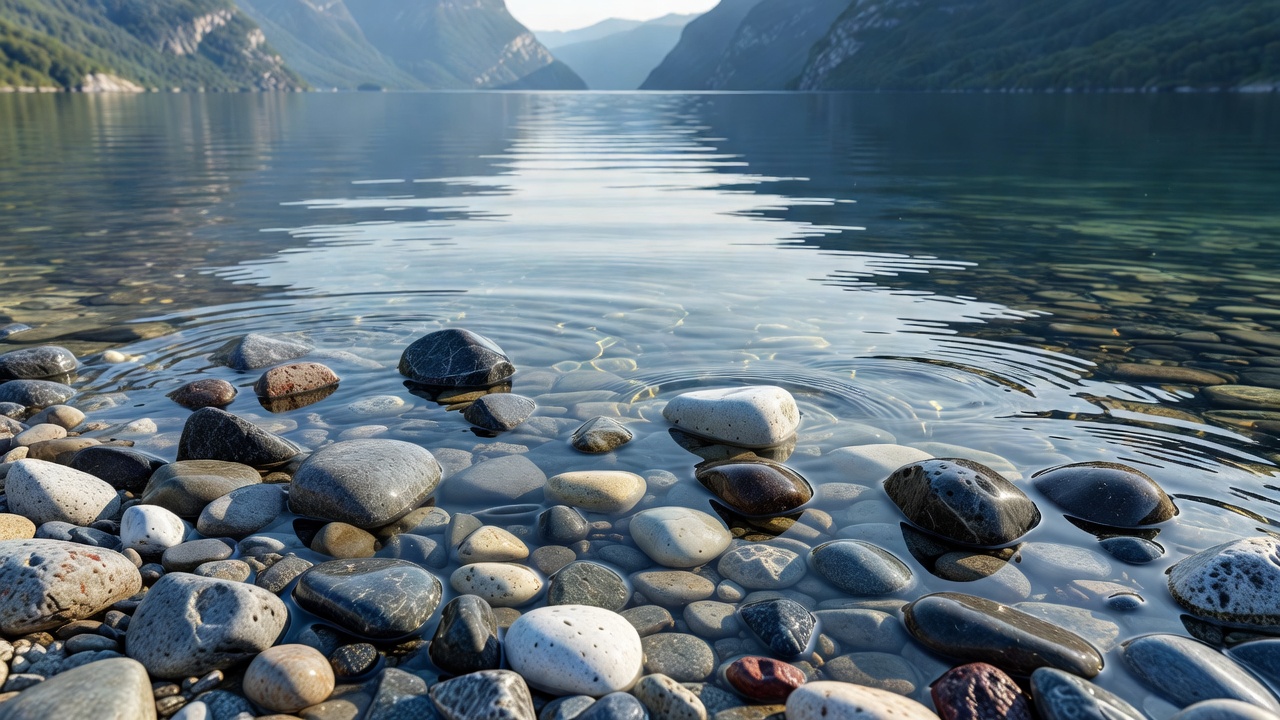
Use the first day to learn your immediate surroundings rather than chasing a celebrated overlook. From a permitted public position in or near Aurland, make a wide image that locates the settlement beside the water. Then work inward: a landing, a public-facing wall, a reflection, a single surface. Note where people walk and where activity requires space.
Choose one safe, accessible viewpoint to revisit. Record your camera position and the approximate conditions, not because you must reproduce the frame exactly, but because repetition will help you notice change. In the evening, select three images that introduce location, scale and texture. Write down one unanswered question for the following day.
Day two: follow movement through Flåm
Flåm offers an opportunity to observe the relationship between water, rail travel and visitor movement. Work from places where photography and standing are permitted. Do not obstruct platforms, gangways, ticket areas or pedestrian routes, and follow staff instructions. A transport setting is an operating environment, not a stage arranged for your sequence.
Look for rhythm rather than spectacle: repeated lines, changing reflections or the pause between arrivals. If making portraits, obtain appropriate permission and explain your intended use. Your task is to show connection without turning strangers into anonymous symbols. End with a detail that can visually bridge this day and the quieter shore you photographed first.
Day three: make room for Undredal
Confirm your transport and any church or visitor access before setting out for Undredal. Allow time simply to understand the settlement's relationship with slope and water. A small village does not require a large collection of photographs. One considered environmental view and two precise details may tell more than a rapid walk through every lane.
If local interpretation introduces the church or cheese-making traditions, record the source alongside your notes. Distinguish public information from a personal conversation, and ask before quoting somebody. The photographic exercise is to connect a visible detail with verified context, rather than attaching a general legend to whichever building happens to look oldest.
Day four: read the scale of Nærøyfjord
If an appropriate scheduled excursion is operating and conditions allow, a Nærøyfjord journey can add a different scale to the essay. Confirm the exact route and whether it returns to your departure point. Gudvangen and Flåm are distinct places; do not assume that a one-way arrival automatically includes onward transport.
Nærøyfjord forms part of the West Norwegian Fjords World Heritage property, alongside Geirangerfjord in a separate area. Photograph the relationship between water, steep terrain and traces of settlement rather than trying to include everything in one frame. From a vessel, secure equipment, respect deck rules and avoid blocking other passengers. A stable stance is more important than changing lenses at the perfect instant.
Day five: return, then edit
Revisit the first day's viewpoint if access and conditions remain suitable. The value is not guaranteed better light: it is a more informed eye. You may now recognise a route across the water, understand an architectural detail or realise that your opening composition omitted something important. Make the return photograph as an answer, not a compulsory duplicate.
Build a short sequence with different functions: an opening detail, a locating image, a trace of human use, a wider passage and a closing echo. Remove photographs that merely repeat a role. A travel essay gains coherence through relationships, not through proving that you visited every stop on a list.
Keep a bad-weather version of the story
If conditions make travel or shoreline work unsuitable, stay within safe local access and concentrate on notes, editing or a permitted indoor cultural visit. Check opening arrangements and photography rules in advance. Do not substitute an unplanned mountain drive simply because a boat trip is cancelled. Road and weather hazards can affect several alternatives at once.
Keep copies of photographs on more than one device where practical, protect personal information in your notes and leave time for rest. The strongest souvenir may be a modest, well-captioned sequence that knows what it does not show. A journey becomes a story when attention has somewhere to settle.